


With every iPhone, you get 5GB of free iCloud storage to save your media, contacts, notes, and so on. The iCloud account makes your files easily accessible across devices. But, 5GB of storage can easily get occupied if you intend to store several files in your iCloud account. While you can upgrade your
storage at a cost
, you can use Google Drive to store and access your files.

Google Drive offers up to 15GB of free storage with a Google account. With your phone storage, that’s definitely an add-on with your iCloud’s 5GB free storage. To add Google Drive as a storage location on your iPhone, you need to link it to the Files app on iPhone. Here’s how add and remove Google Drive from Files app on iPhone.
How to Add Google Drive to the Files App on iPhone
When trying to save a file on your iPhone, by default, the Files app presents you with two options: On My iPhone and iCloud Drive. Linking Google Drive to the Files app ensures you have another storage option. Here’s how to add Google Drive to your Files app.
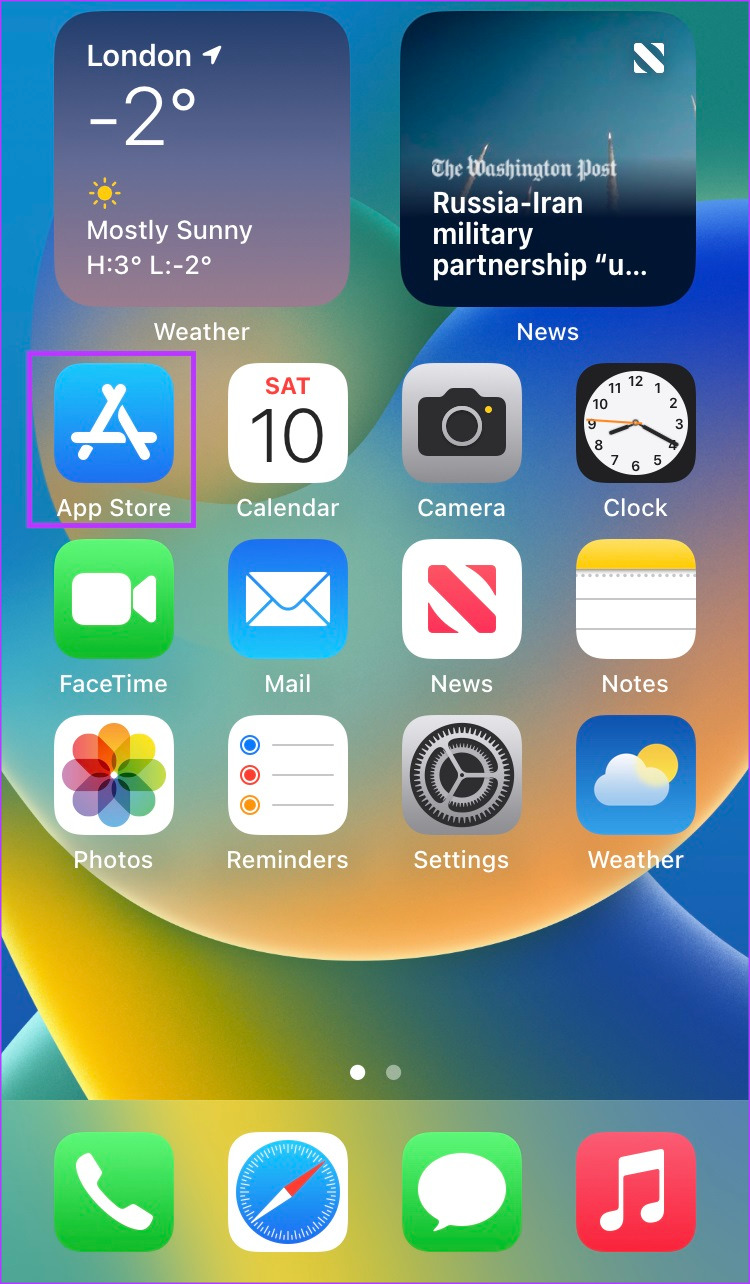
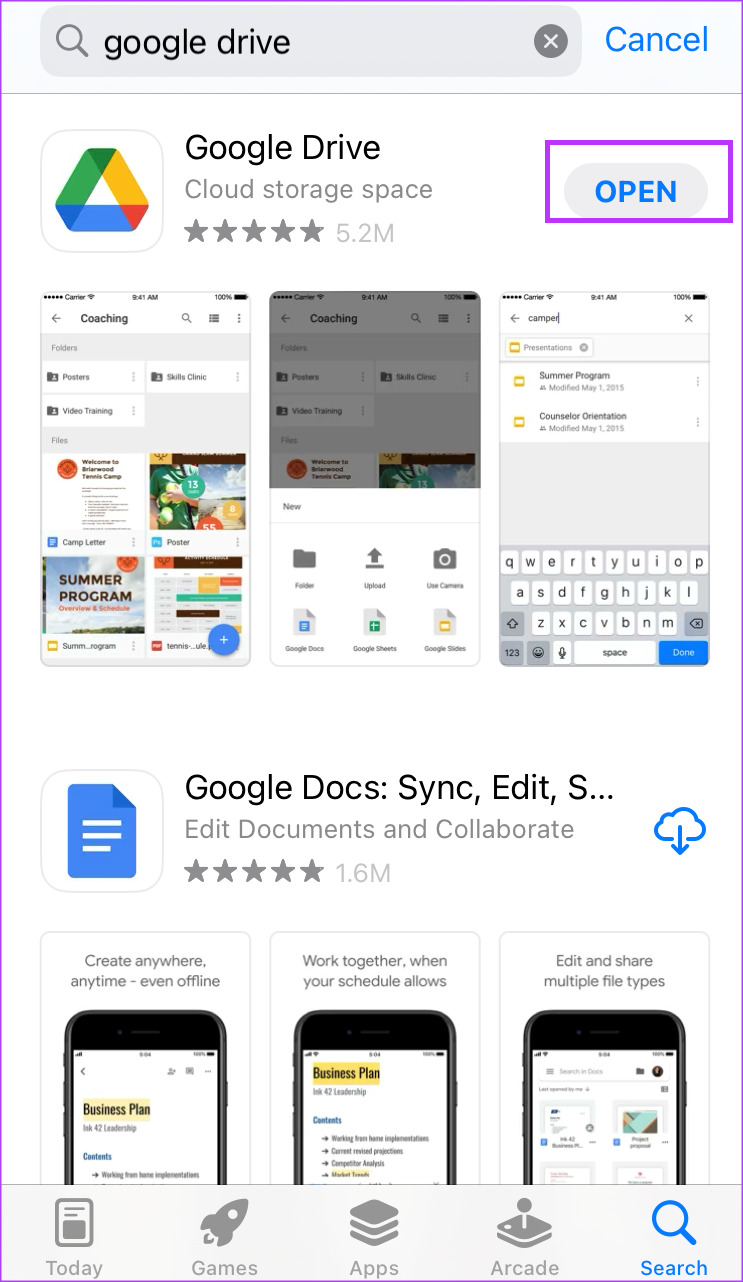
Step 1:
Open the App Store on your iPhone and download Google Drive.
Step 2:
After downloading the Google Drive app, launch it, and sign in with your credentials.
Step 3:
Close the Google Drive app after setting it up, then tap the Files app on your device.

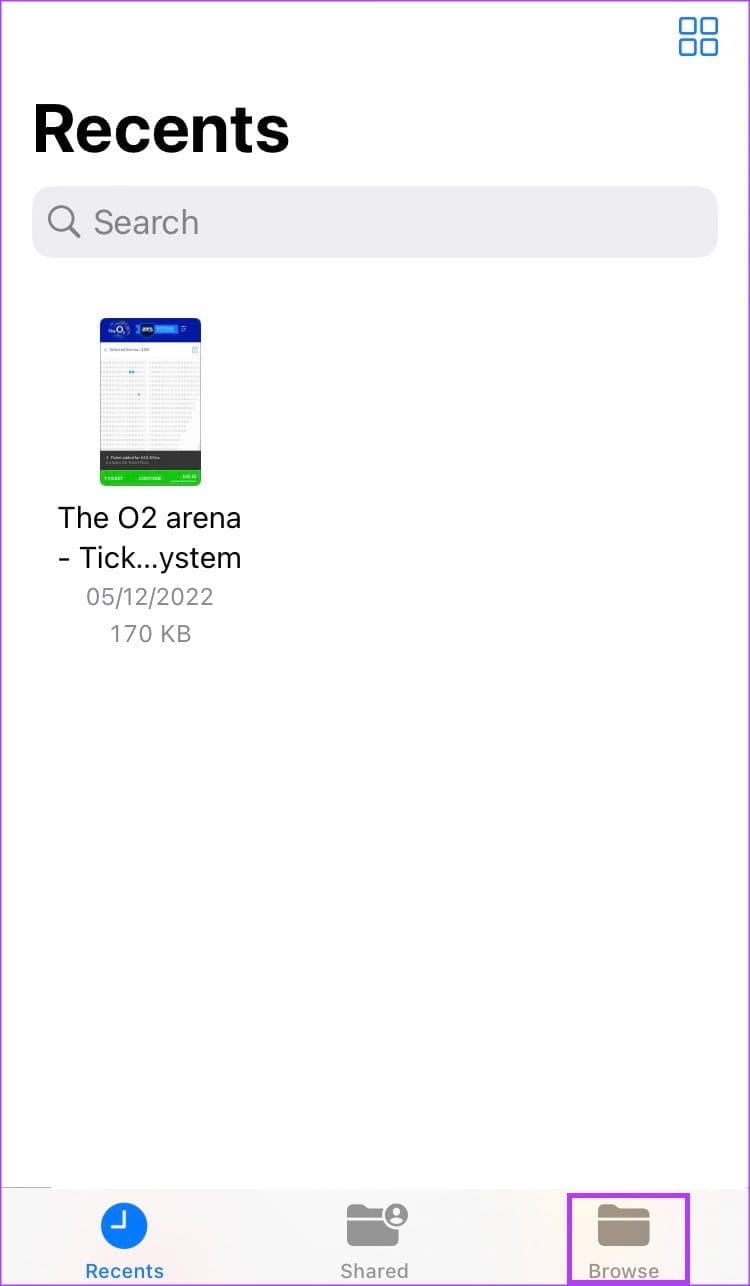
Step 4:
Tap the Browse icon at the bottom right of your iPhone’s screen.
Step 5:
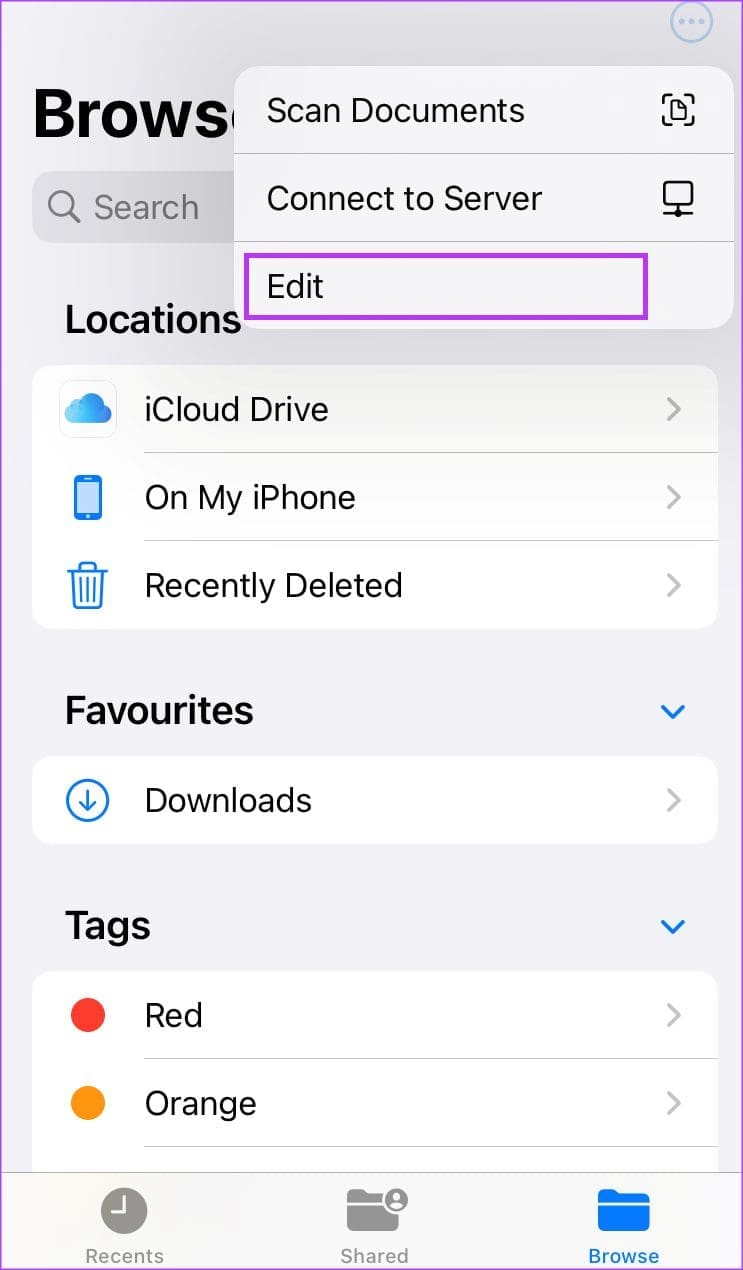
On the Browse page, you should see three locations are shown (iCloud Drive, On My iPhone, and Recently Deleted). Tap the three-dots icon at the top-right corner.

Step 6:
From the menu pop-up, tap Edit.
Step 7:
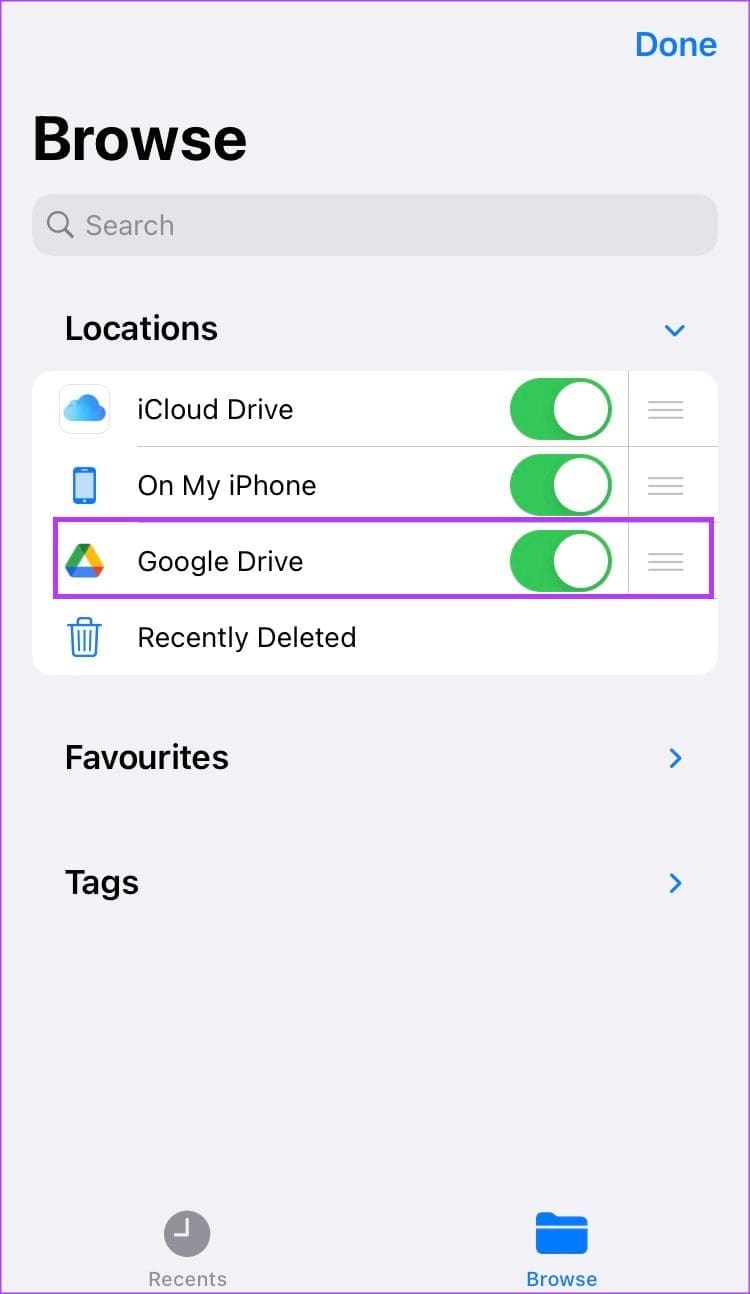
In Edit mode, all previously hidden drives/locations should show up. Turn on the toggle next to Google Drive.

Step 8:
Tap Done to save your changes. Your newly added drive should now be visible in Locations.

The steps explained above are usable to link other third-party cloud storage services (OneDrive, Dropbox, etc.) to the Files app on iPhone.
How to Rearrange Google Drive’s Location in the Files App on iPhone
You would have noticed that after linking Google Drive to Files app, it shows up as the last storage location on the list. If you want it at the top where it is easy to select it anytime you need to save or preview something, you can rearrange your storage locations. Here’s how to do so:
Step 1:
Tap the Files app on your device to launch it.
Step 2:
Tap the Browse icon at the bottom right of your iPhone’s screen.
Step 3:
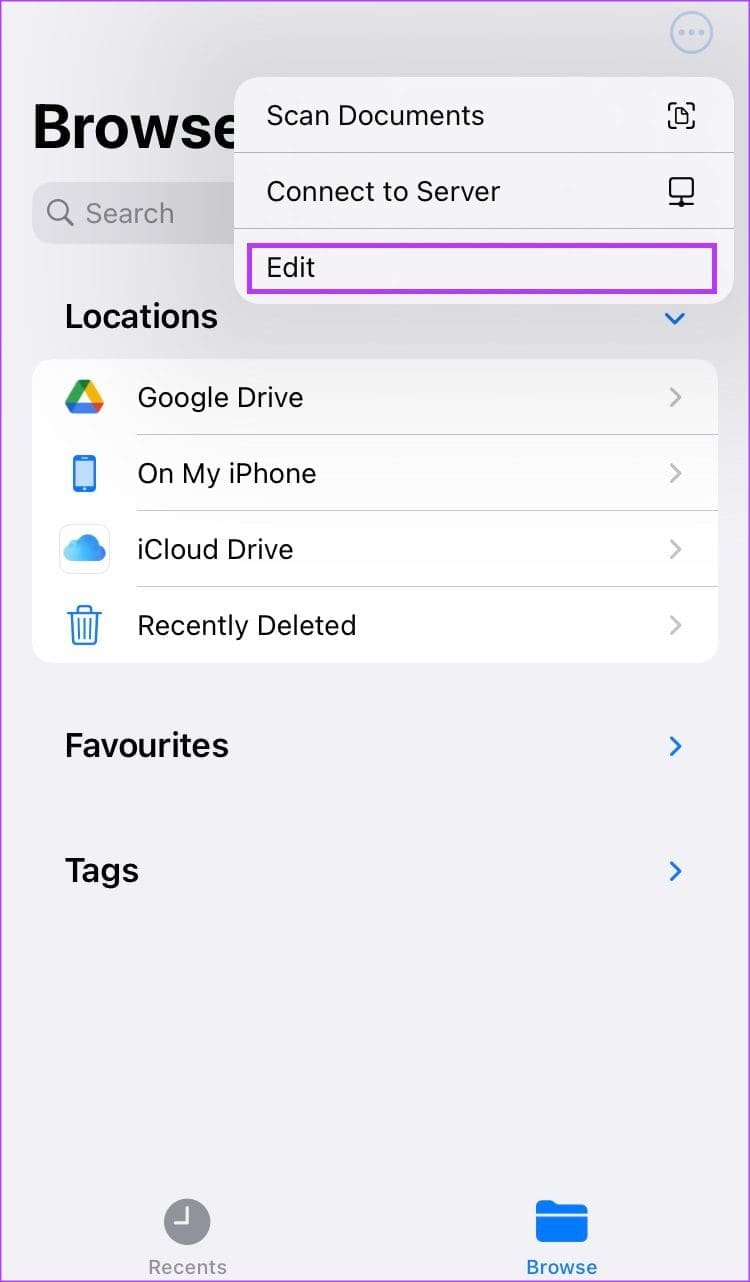
On the Browse page, you will see all your storage locations. Tap the three-dots icon at the top-right corner.
Step 4:
From the menu pop-up, tap Edit.
Step 5:
In Edit mode, you should see three vertical stripes beside each storage location. Long press the stripe beside Google Drive and use it to drag the Drive to the top.
Step 6:
Tap Done to save your changes.

How to Remove Google Drive From Files App on iPhone
If you no longer want Google Drive as a storage location on your iPhone, you can remove it. You can switch to another Drive or even upgrade your iCloud storage plan. Here’s how you can easily remove Google Drive from the Files app storage location.
Step 1:
Tap the Files app on your iPhone.
Step 2:
Tap the Browse icon at the bottom-right corner of the screen.
Step 3:
On the Browse screen, you will see all your storage locations. Tap the three-dots icon at the top-right corner.
Step 4:
From the menu pop-up, tap Edit.
Step 5:
On Edit screen, you will see toggles appear beside each storage location. Turn off the toggle next to Google Drive and ensure it has a grey/ white fill (depending on your iPhone theme).

Step 6:
Tap Done to save your changes. Google Drive will no longer be active as a storage location.

Freeing Up Your iCloud Storage
If don’t want to use a third-party app as an added storage option, you can try
clearing up space on your iCloud
and iPhone. Media items such as songs, photos, and videos typically occupy much storage space. You can free up your storage space by doing a bit of spring cleaning, such as deleting duplicate images and opting to stream instead of downloading media.


